Android Toast Example
In Android you can use the Toast component to display short pop up messages to the user that automatically disappear in few seconds. In general a Toast message is quick way to debug you’re application, for example to check whether a button is working properly or not.
In this tutorial we will show how to display a regular Toast message. Additionally we will create and display our own customized Toast message.
For this tutorial, we will use the following tools in a Windows 64-bit platform:
- JDK 1.7
- Eclipse 4.2 Juno
- Android SKD 4.2
1. Create a new Android Project
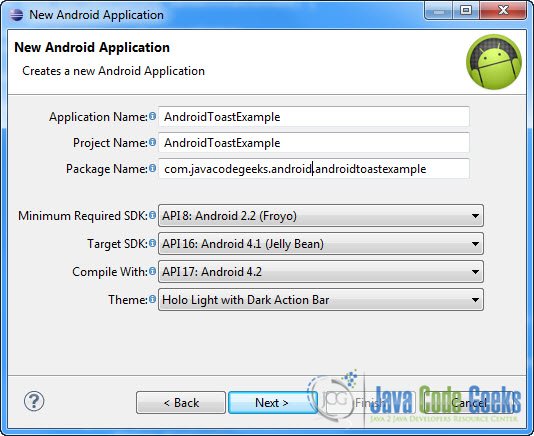
Open Eclipse IDE and go to File -> New -> Project -> Android -> Android Application Project. You have to specify the Application Name, the Project Name and the Package name in the appropriate text fields and then click Next.
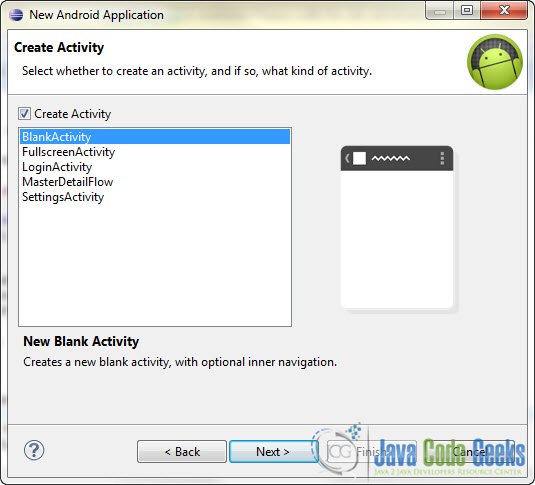
In the next window make sure the “Create activity” option is selected in order to create a new activity for your project, and click Next. This is optional as you can create a new activity after creating the project, but you can do it all in one step.
Select “BlankActivity” and click Next.
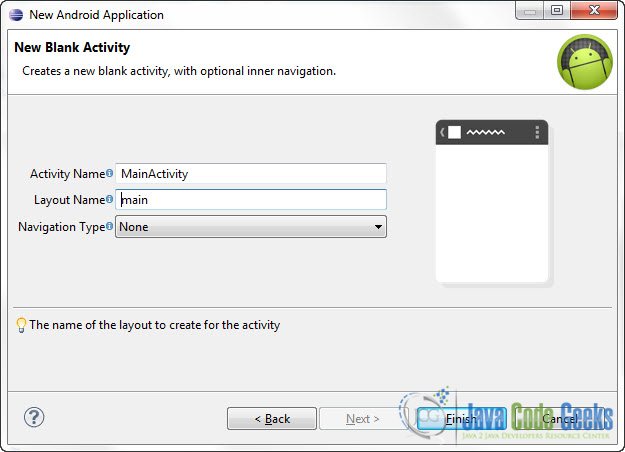
You will be asked to specify some information about the new activity. In the Layout Name text field you have to specify the name of the file that will contain the layout description of your app. In our case the file res/layout/main.xml will be created. Then, click Finish.
2. Adding resources
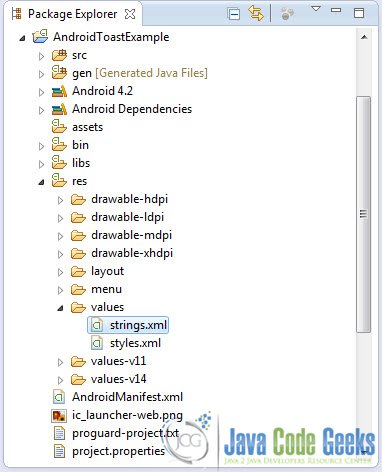
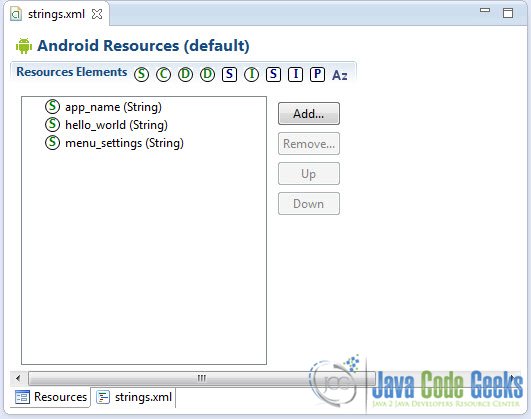
Use the Package Explorer in Eclipse to navigate to res/values/strings.xml
When you open the strings.xml file, Eclipse will display the graphical Resources View editor :
That’s a nice and easy tool you can use to add several resources to your application like strings, integers, color values etc. But we are going to use the traditional way and that is editing the strings.xml file by hand. In the bottom of the screen, press the string.xml tab and paste the following code :
<?xml version="1.0" encoding="utf-8"?>
<resources>

    <string name="app_name">AndroidToastExample</string>
    <string name="menu_settings">Settings</string>
    <string name="button_label">Show message</string>
    <string name="image_content">image</string>

</resources>
So, we’ve just created some string resources that we can use in many ways and in many places in our app.
3. Create the main layout of the Application
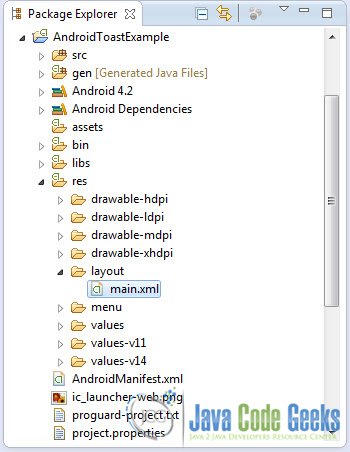
Open res/layout/main.xml file :
And paste the following code :
<?xml version="1.0" encoding="utf-8"?>
<LinearLayout xmlns:android="http://schemas.android.com/apk/res/android"
    android:layout_width="fill_parent"
    android:layout_height="fill_parent"
    android:orientation="vertical" >

    <Button
        android:id="@+id/mainbutton"
        android:layout_width="wrap_content"
        android:layout_height="wrap_content"
        android:text="@string/button_label" />

</LinearLayout>
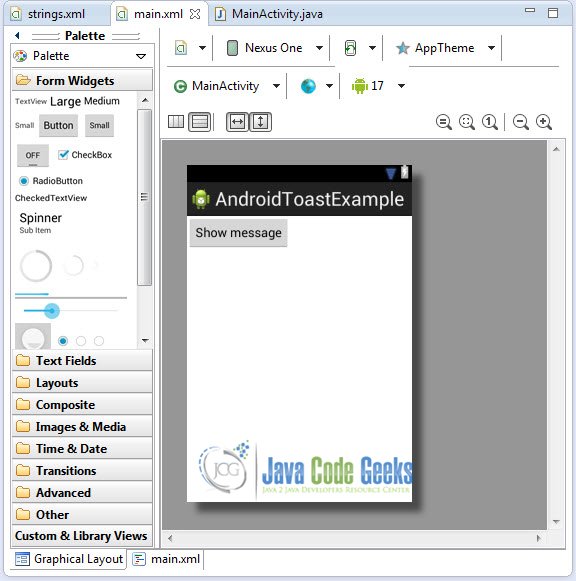
Now you may open the Graphical layout editor to preview the User Interface you created:
4. Code
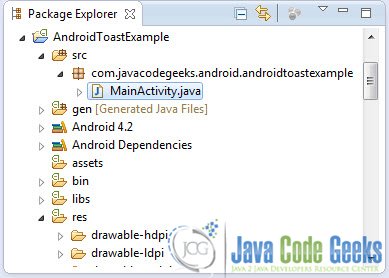
Go to the java file that contains the code of the activity you’ve just created:
And paste the following code:
package com.javacodegeeks.android.androidtoastexample;

import android.app.Activity;
import android.os.Bundle;
import android.view.View;
import android.view.View.OnClickListener;
import android.widget.Button;
import android.widget.Toast;

public class MainActivity extends Activity {

	private Button button;

	public void onCreate(Bundle savedInstanceState) {

		super.onCreate(savedInstanceState);
		setContentView(R.layout.main);

		button = (Button) findViewById(R.id.mainbutton);

		button.setOnClickListener(new OnClickListener() {

			  @Override
			  public void onClick(View arg0) {

			     Toast.makeText(getApplicationContext(),"This is an Android Toast Message", Toast.LENGTH_LONG).show();
			  }
		});
	}
}
5. Run the application
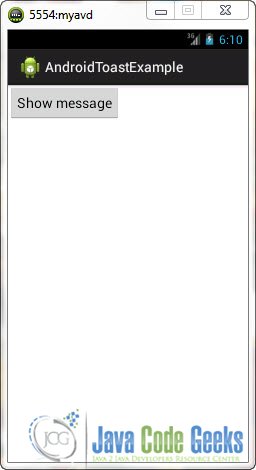
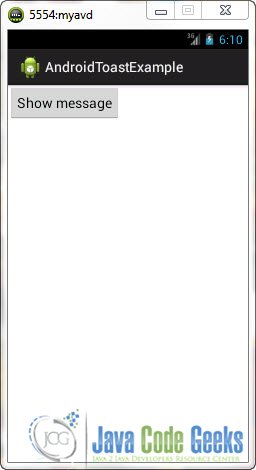
This is the main screen of our Application. Remember that the layout of the main screen is described by main.xml:
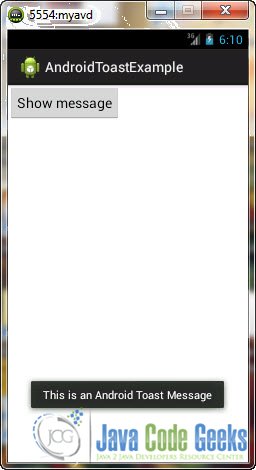
Now, when you press the button:
6. Create a new layout for the Dialog Window
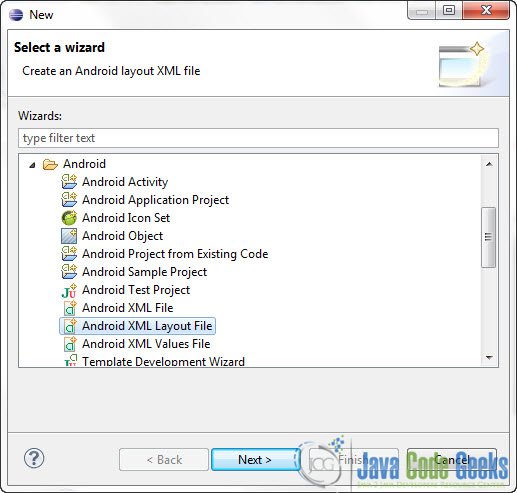
Now you may want to create your own customized Toast message. For example we want the Toast message to contain an image. And for that we need to create an new layout xml file. The Toast message will be created according to the new layout file that we will create. To create a new layout file, go to the Package Explorer and right click on the res/layout folder. Select New -> Other -> Android -> Android XML Layout File. And click Next:
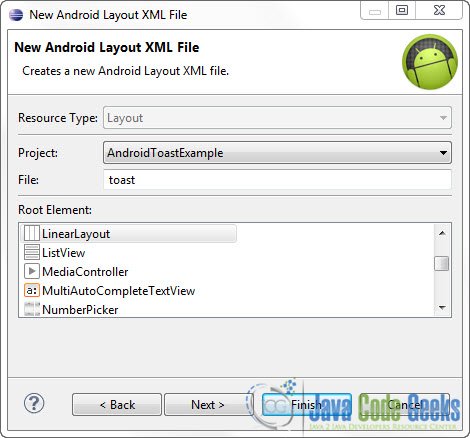
Then specify the name of the file and the Layout type and click Finish:
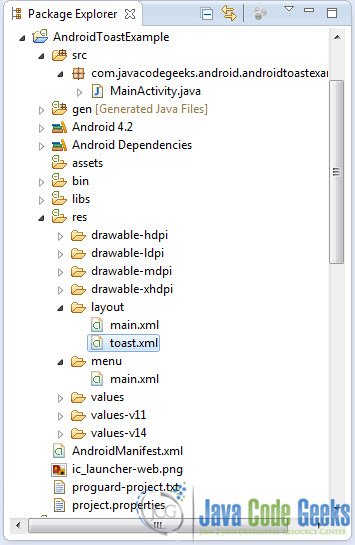
As you will see in the Package Explorer the new /res/layout/toast.xml file has been created:
Open that file and paste the following code:
<?xml version="1.0" encoding="utf-8"?>
<LinearLayout xmlns:android="http://schemas.android.com/apk/res/android"
    android:id="@+id/toast_layout_id"
    android:layout_width="fill_parent"
    android:layout_height="fill_parent"
    android:background="#000"
    android:orientation="horizontal"
    android:padding="5dp" >

    <ImageView
        android:id="@+id/image"
        android:src="@drawable/ic_launcher"
        android:layout_width="wrap_content"
        android:layout_height="fill_parent"
        android:contentDescription="@string/image_content"
        android:layout_marginRight="5dp" />

    <TextView
        android:id="@+id/text"
        android:layout_width="wrap_content"
        android:layout_height="fill_parent"
        android:textColor="#FFF"/>

</LinearLayout>
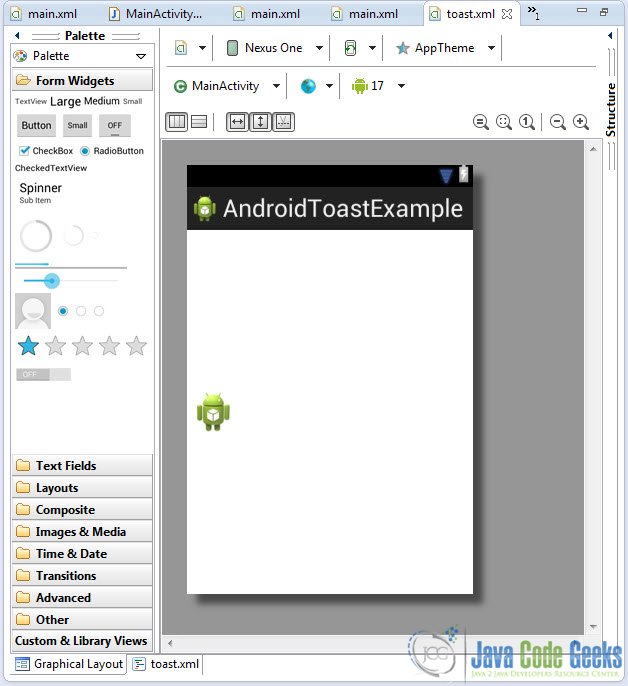
Now you may open the Graphical layout editor to preview the User Interface you created:
Don’t forget that we will use this layout for our Custom Toast Message.
7. New Code for the Custom Toast Message
The code of this tutorial is pretty much self explanatory. The interesting part is how to tell the Toast component to use the new xml file as its layout description. Go to MainActivity.java file like before, and change the code to this :
package com.javacodegeeks.android.androidtoastexample;

import android.app.Activity;
import android.os.Bundle;
import android.view.Gravity;
import android.view.LayoutInflater;
import android.view.View;
import android.view.View.OnClickListener;
import android.view.ViewGroup;
import android.widget.Button;
import android.widget.TextView;
import android.widget.Toast;

public class MainActivity extends Activity {

	private Button button;

	public void onCreate(Bundle savedInstanceState) {

		super.onCreate(savedInstanceState);
		setContentView(R.layout.main);

		button = (Button) findViewById(R.id.mainbutton);

		button.setOnClickListener(new OnClickListener() {

			@Override
			public void onClick(View view) {

				// get your toast.xml layout
				LayoutInflater inflater = getLayoutInflater();

				View layout = inflater.inflate(R.layout.toast,(ViewGroup) findViewById(R.id.toast_layout_id));

				// set a message
				TextView text = (TextView) layout.findViewById(R.id.text);
				text.setText("This is a Custom Toast Message");

				// Toast configuration
				Toast toast = new Toast(getApplicationContext());
				toast.setGravity(Gravity.CENTER_VERTICAL, 0, 0);
				toast.setDuration(Toast.LENGTH_LONG);
				toast.setView(layout);
				toast.show();
			}
		});
	}
}
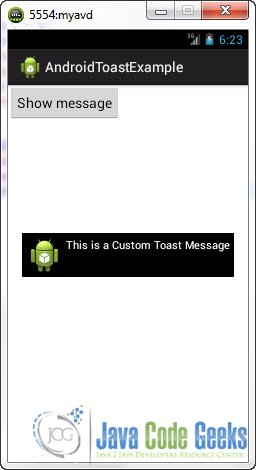
As you can see we use a LayoutInflater to create an new View that will use the toast.xml file as the layout description. And when we do toast.setView(layout), we setup the Toast to use the newly created View as its User Interface.
8. Run the updated application
This is the main screen of our Application. Remember that the layout of the main screen is described by main.xml:
Now, when you press the button:
Download Eclipse Project
This was an Android Toast Example. Download the Eclipse Project of this tutorial: AndroidToastExample.zip

