ListActivity is a subclass of Activity that includes a ListView object. Through ListActivity class you can create an activity in your Android application that can be connected to different data sources (query cursor or arrays) and can be displayed as a set of list items on the screen. Actually, the use of the ListActivity class provides us a more simplified way of handling the list of items because it contains a ListView by default.
In our example we are going to show you the use of ListActivity as a screen layout in the Android apps.
For this tutorial, we will use the following tools in a Windows 64-bit platform:
- JDK 1.7
- Eclipse 4.2 Juno
- Android SDK 4.1
You may skip project creation and jump directly to the beginning of the example below.
1. Create a New Android Application Project
Open Eclipse IDE and go to File → New → Project → Android Application Project.
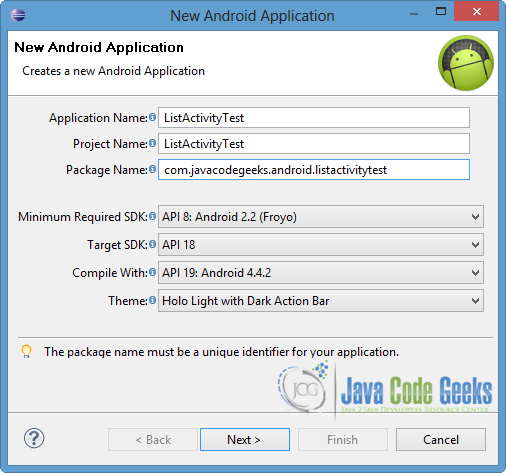
Fill in the name of the application, the project and the package in the appropriate fields. Then click Next.
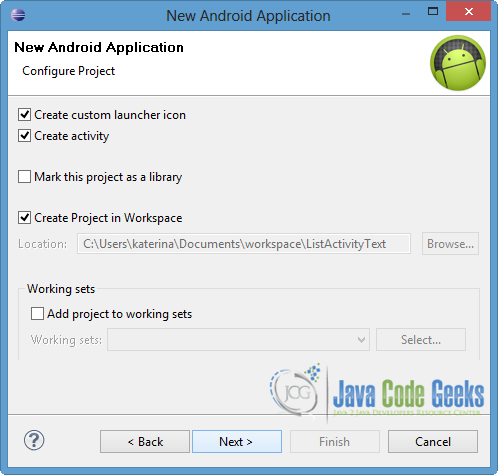
In the next window, the “Create Activity” option should be checked. The new created activity will be the main activity of your project. Then press Next button.
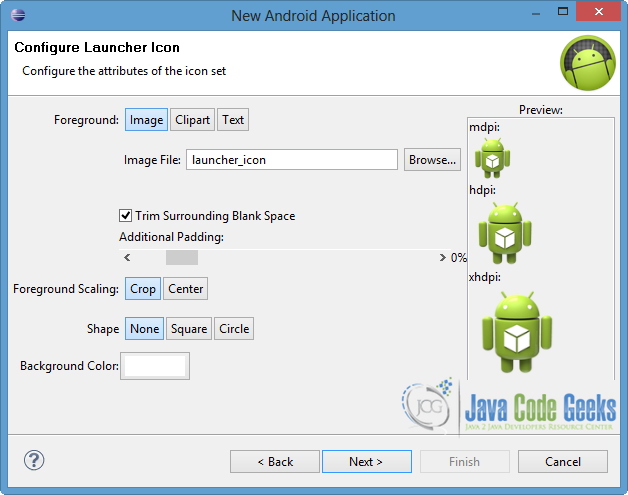
In “Configure Launcher Icon” window you should choose the icon you want to have in your app. We will use the default icon of android, so click Next button.
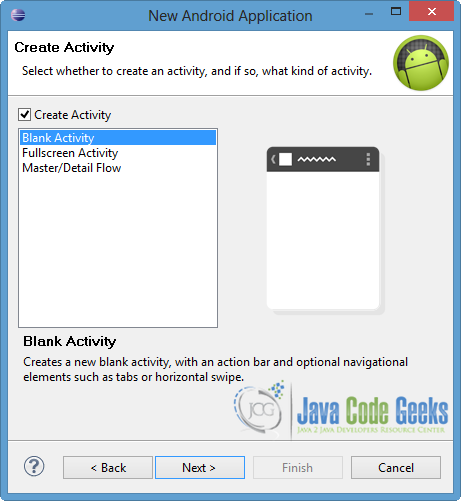
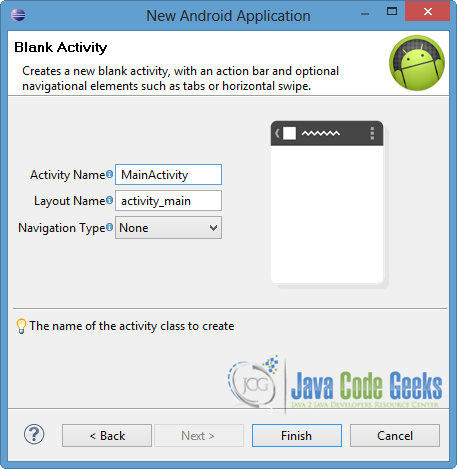
Select the “Blank Activity” option and press Next.
You have to specify a name for the new Activity and a name for the layout description of your app. The .xml file for the layout will automatically be created in the res/layout folder. Finally, press Finish.
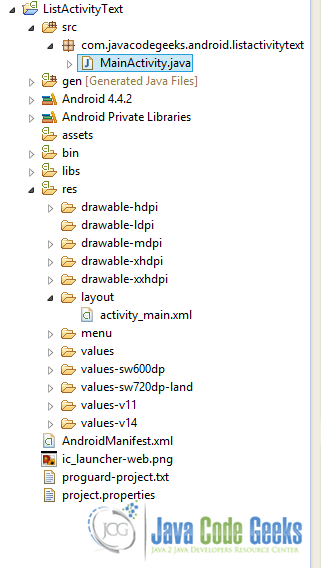
You can have a look at the final structure of the project in the following image, just in case something went wrong in the previous steps.
2. Create the layout of the Main Activity
In order to make a screen layout, we are going to define the ListView in the UI.
So open res/layout/activity_main.xml, go to the respective tab and paste the following code.
activity_main.xml:
<RelativeLayout xmlns:android="http://schemas.android.com/apk/res/android"
    xmlns:tools="http://schemas.android.com/tools"
    android:layout_width="match_parent"
    android:layout_height="match_parent"
    android:paddingBottom="@dimen/activity_vertical_margin"
    android:paddingLeft="@dimen/activity_horizontal_margin"
    android:paddingRight="@dimen/activity_horizontal_margin"
    android:paddingTop="@dimen/activity_vertical_margin"
    tools:context=".MainActivity" >

    <TextView
        android:layout_width="wrap_content"
        android:layout_height="wrap_content"
        android:id="@+id/mainText"
        android:text="My list" />

    <ListView
        android:layout_width="wrap_content"
        android:layout_height="wrap_content"
        android:layout_below="@+id/mainText"
        android:id="@android:id/list"
        android:background="#aaaaaa" />

    <TextView
        android:layout_width="wrap_content"
        android:layout_height="wrap_content"
        android:layout_below="@+id/mainText"
        android:id="@android:id/empty"
        android:text="There is no data"
        android:textStyle="bold" />

</RelativeLayout>
Now notice the highlighted lines of the above xml file. When we want to specify our ListView, it is obligatory to specify @android:id/list at the unique identifier xml attribute (notice: not @+id/list because an error will occur). Also we can define the background color in order to customize the desirable ListView. In addition, it is recommended to declare a TextView in order to be displayed when the ListView is out of items. For this reason @android:id/empty is specified to the id component.
It is important to mention that there is no need of declaring a ListView widget in the xml layout file because the ListActivity hosts one by default. In this situation, a list is displayed at the center of the screen.
3. Create the row layout
Now, we are going to create a simple layout for the rows of the ListView.
Right click to the res/layout folder → New → Android XML File. Specify the name of the layout, as you can see in the next image, and press Finish.
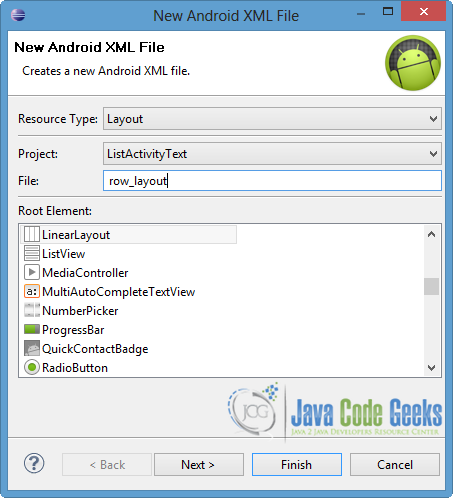
Open res/layout/row_layout.xml, go to the respective tab and paste the following code.
row_layout.xml:
<?xml version="1.0" encoding="utf-8"?>
<LinearLayout xmlns:android="http://schemas.android.com/apk/res/android"
    android:layout_width="match_parent"
    android:layout_height="match_parent"
    android:orientation="vertical" >

    <TextView
        android:id="@+id/listText"
        android:layout_width="wrap_content"
        android:layout_height="wrap_content"
        android:padding="10dp"
        android:textSize="18sp"
        android:textStyle="bold"
        android:textColor="#ff00ff" />

</LinearLayout>
Into this LinearLayout we will specify a simple format of the text of the list rows, so we will add a TextView element. Of course we can make a more complicated row style depending on our needs, for example we can use an ImageView etc.

4. Code the Main Activity
At this point we will show how we can handle the ListView through the ListActivity.
Open src/com.javacodegeeks.android.listactivitytest/MainActivity.java and paste the following code.
MainActivity.java:
package com.javacodegeeks.android.listactivitytext;

import java.util.ArrayList;
import java.util.List;

import android.os.Bundle;
import android.view.View;
import android.widget.ArrayAdapter;
import android.widget.ListView;
import android.widget.TextView;
import android.app.ListActivity;

public class MainActivity extends ListActivity {

	private TextView text;
	private List<String> listValues;

	@Override
	protected void onCreate(Bundle savedInstanceState) {
		super.onCreate(savedInstanceState);
		setContentView(R.layout.activity_main);

		text = (TextView) findViewById(R.id.mainText);

		listValues = new ArrayList<String>();
		listValues.add("Android");
		listValues.add("iOS");
		listValues.add("Symbian");
		listValues.add("Blackberry");
		listValues.add("Windows Phone");

		// initiate the listadapter
		ArrayAdapter<String> myAdapter = new ArrayAdapter <String>(this,
				R.layout.row_layout, R.id.listText, listValues);

         // assign the list adapter
         setListAdapter(myAdapter);

	}

	// when an item of the list is clicked
	@Override
	protected void onListItemClick(ListView list, View view, int position, long id) {
		super.onListItemClick(list, view, position, id);

		String selectedItem = (String) getListView().getItemAtPosition(position);
		//String selectedItem = (String) getListAdapter().getItem(position);

		text.setText("You clicked " + selectedItem + " at position " + position);
	}

}
Now let’s have a look at the code above. First of all we have to associate the ListView of the xml file with the ListActivity, so the setContentView() method contains the appropriate xml layout file (activity_main in our occasion).
After that, we should bind the ListView of the ListActivity with the data. This can be done via an adapter and more specifically through a ListAdapter interface. As you can notice, we use ArrayAdapter because the items are represented through an ArrayList. You can easily see that we use the row_layout as the layout reference of our list, as well as the id of the TextView that the ListView will be filled in. Of course Android provides us a built-in XML layout for the ListView, for example simple_list_item_1.
Finally in order to handle the item selection, onListItemClick is called. This operation provides the selected ListView and the position of the clicked list item. Please notice the two ways of getting the name of the selected list item (through the list adapter of the list view) by indicating its position.
5. Run the application
To run our application, right click on our project → Run as → Android Application. The AVD will appear with the app loaded.
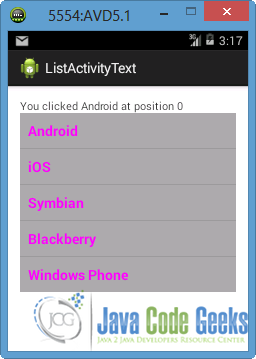
As you can see, the ListView that is displayed on the screen includes all the list items that are defined in the ArrayAdapter. In addition, the rows of the list have the specified format of the TextView of the row_layout reference.
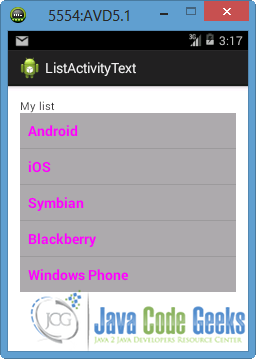
Now let’s choose “Android” of the list. When a list item is clicked, the callback method of the onListItemClick is initialized so the text will change appropriately.
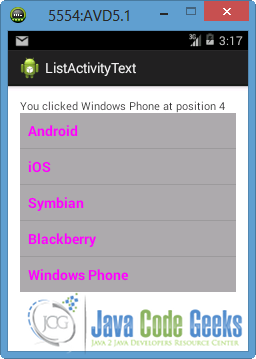
If we select another list item, again the onListItemClick will be called, so the text will change again. You can notice that the text includes the name, as well as the position, of the selected item. This is happening because getItemAtPosition() of the ListView is called inside the operation of the onListItemClick interface, as you can see in the MainActivity.java.
Download the Eclipse Project
This was an example of ListActivity in Android.
You can download the full source code of this example here : ListActivityText.zip
